


Learn how to build Animated Borders in Webflow with clear step-by-step instructions, perfect for freelancers, designers, and Webflow beginners looking to l
<style>
.gradient-border {
background: linear-gradient(
45deg,
#ff006e 0%, /* Vibrant Pink - Change Color Here*/
#f347c4 100% /* Soft Magenta - Change Color Here*/
);
background-size: 400% 400%;
-webkit-animation: gradientBG 10s ease infinite; /* Slower animation: 10 seconds */
animation: gradientBG 10s ease infinite; /* Slower animation: 10 seconds */
}
/* Animation Keyframes */
@-webkit-keyframes gradientBG {
0% {
background-position: 0% 50%;
}
50% {
background-position: 100% 50%;
}
100% {
background-position: 0% 50%;
}
}
@keyframes gradientBG {
0% {
background-position: 0% 50%;
}
50% {
background-position: 100% 50%;
}
100% {
background-position: 0% 50%;
}
}
</style>
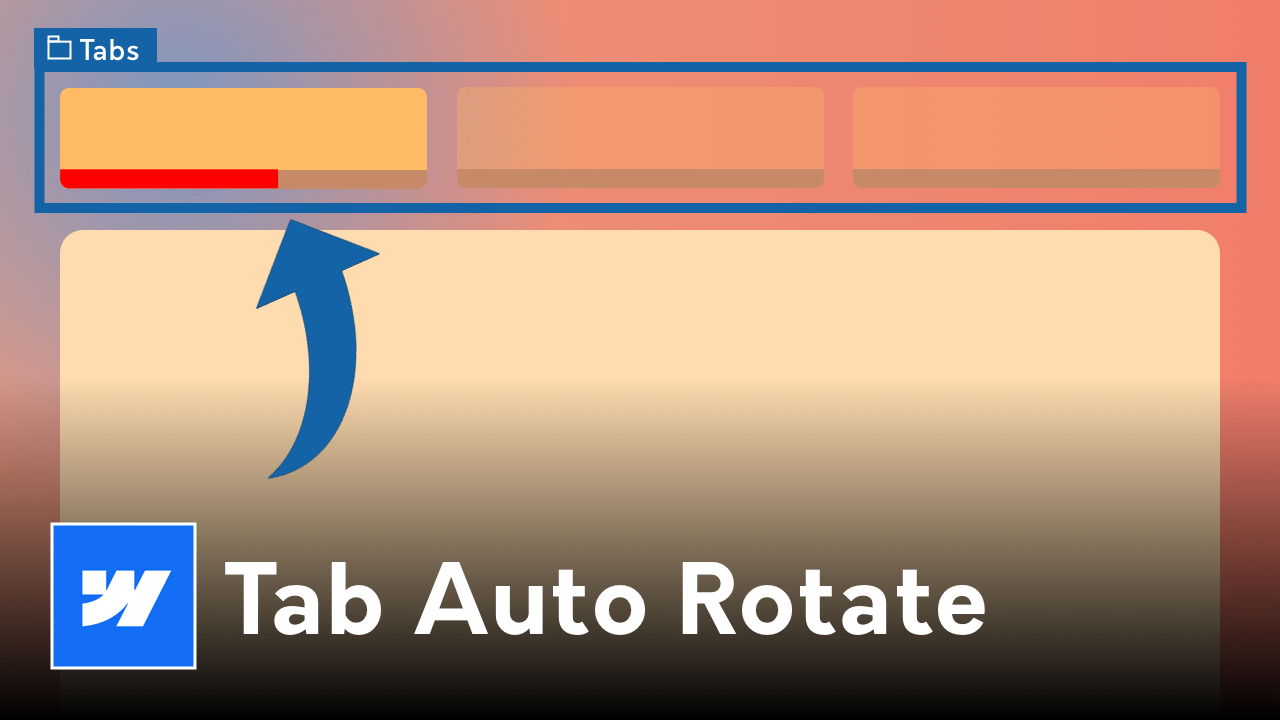
Animated borders are a powerful design technique to bring subtle motion and interactivity to your website. In Webflow, you can create dynamic border effects using a combination of div blocks, interactions, and custom CSS. This tutorial will guide you through the process step-by-step — no coding knowledge required.
Animated borders are more than just eye candy. They help:
div block and assign it a class (e.g., border-wrapper).div blocks inside the wrapper — one for each side (top, right, bottom, left).border-line and then use combo classes for each direction (e.g., border-line top).absolute and adjust their width/height depending on the side.In your Webflow Designer:
translateX(-100%) or scaleX(0))If you want smoother animations or border reveal on scroll, you can use custom CSS like:
html
CopyEdit
<style>
.border-line {
  transition: transform 0.4s ease;
}
.border-wrapper:hover .top {
  transform: scaleX(1);
}
</style>
By following these steps, you’ll elevate your Webflow design with interactive, animated borders that grab attention and enhance the user experience.
<script type="application/ld+json">
{
"@context": "https://schema.org",
"@type": "HowTo",
"name": "How to Create Animated Borders in Webflow",
"description": "Learn how to design animated borders in Webflow using div blocks, CSS, and interactions. This step-by-step guide helps you add motion and interactivity to your Webflow website.",
"image": "https://cdn.prod.website-files.com/68196adb6213c741b7ad80d8/682b06649a9bba82b96c170d_Dereksiu.com.au%20logo.jpg",
"totalTime": "PT10M",
"estimatedCost": {
"@type": "MonetaryAmount",
"currency": "USD",
"value": "0"
},
"supply": [
{
"@type": "HowToSupply",
"name": "Webflow Designer"
}
],
"tool": [
{
"@type": "HowToTool",
"name": "Webflow Interactions"
}
],
"step": [
{
"@type": "HowToStep",
"name": "Create Your Element Container",
"text": "Add a div block as a wrapper and insert your content inside it."
},
{
"@type": "HowToStep",
"name": "Add Border Layers",
"text": "Insert four div blocks for top, right, bottom, and left borders and set them to absolute positioning."
},
{
"@type": "HowToStep",
"name": "Style the Borders",
"text": "Customize each border’s color, size, and position using CSS or Webflow styles."
},
{
"@type": "HowToStep",
"name": "Animate with Webflow Interactions",
"text": "Use hover animations to animate the borders on mouse in and out."
},
{
"@type": "HowToStep",
"name": "Add Custom Code (Optional)",
"text": "For advanced effects, use custom CSS for transitions or scroll animations."
}
]
}
</script>
